
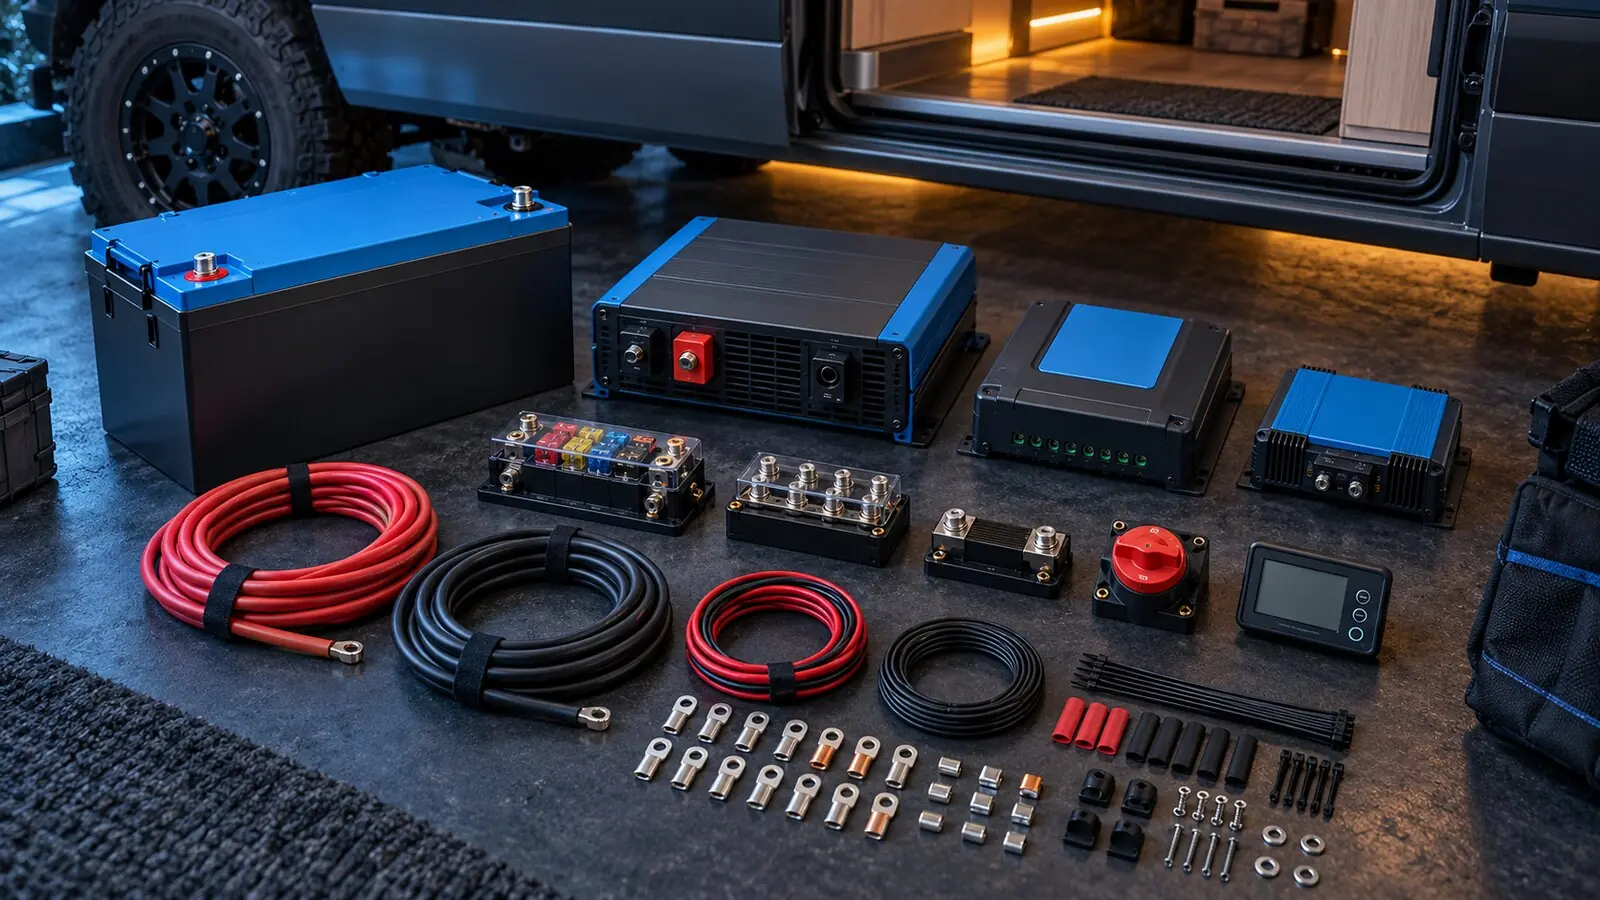
A camper van electrical system kit can save you a lot of compatibility homework, but it can’t do the design for you. Load calculations, cable and fuse sizing, where everything physically goes, and checking each manual are still on you. The best kit is the one built around your measured energy use and that lists exactly what’s in the box, and what isn’t.
That matters because “kit” is used loosely. One package might be panels and a charge controller. Another might be a nearly complete power system that still leaves out roof mounts, a shore inlet, AC branch protection, vehicle-specific alternator wiring and the final load circuits. Compare the bill of materials, not the marketing label.
Start with your loads and how you’ll recharge
Before looking at any kit, write down daily energy in watt-hours and peak simultaneous power in watts. Include the fridge, lights, fans, pump, computers, internet gear, induction cooking, water heating, air conditioning and the inverter’s idle draw. Split essential loads from occasional comfort loads. The power system simulator is a quick way to see how a day plays out.
Then decide how energy gets back into the battery:
- rooftop and portable solar;
- the alternator, through a suitable DC-to-DC charger;
- shore AC, through a charger or inverter/charger;
- a generator, if you’ll have one and can place it safely.
Battery capacity and inverter power solve different problems. A 3,000 W inverter can start a big appliance, but a small battery may run it for only minutes. A large battery can run for ages, yet a small charger might need days to refill it.
Three ways kits are built
Integrated power hub
One system combines several functions, often inverter, AC charger, solar charging, DC-to-DC charging, distribution and communications. EcoFlow markets Power Kits for vans and RVs with modular batteries and an integrated ecosystem. The upside is fewer separate devices, coordinated monitoring and less custom wiring between the core parts. The tradeoffs are dependence on one ecosystem, proprietary cables or batteries, one big point of failure, and less freedom to swap a single function for another brand. Before buying, ask which inputs can run at the same time, the PV voltage and current limits, alternator input requirements, how AC output and transfer behave, battery expansion rules, idle consumption, ventilation clearance, firmware dependence, and who services it in your region.
Semi-integrated modular system
Renogy’s REGO system uses a combiner box as the hub for its battery, charge controller, DC-to-DC charger and inverter. That removes some custom interconnects while keeping the system’s parts recognizable. Check that the package really includes the exact batteries, hub, inverter, chargers, communication devices, fuses, cables and monitoring in the design. A shared brand doesn’t guarantee that every product generation connects to every hub.
Component-based system
This is separate devices, for example a Victron inverter/charger, SmartSolar MPPT, Orion DC-to-DC charger, shunt, busbars and a compatible battery with BMS. You can tailor it closely, and each part can be serviced or upgraded on its own. The price is more design responsibility: communication, remote shutdown, grounding, fuse coordination, cable lengths, layout and software settings all have to be worked out and written down. Victron publishes RV guidance, example systems, manuals and the Wiring Unlimited book, but the final choices still depend on your vehicle and battery.
What a complete kit has to cover
- Battery bank. Look at usable watt-hours, not just amp-hours. A nominal 12.8 V, 200 Ah LiFePO4 bank holds about 2,560 Wh, but usable energy depends on the maker’s limits, temperature, BMS cutoffs, discharge rate and the reserve you keep. Check the battery’s continuous and surge discharge against the inverter and DC loads, and its charge limit against every charger running together.
- Inverter or inverter/charger. Size continuous output for realistic simultaneous loads, prefer pure sine wave, and check idle draw, because a big inverter left on all day can eat real energy. Our inverter guide explains how. An inverter/charger adds shore charging and transfer switching, so confirm neutral-ground behavior, branch protection, ground-fault protection and the shore inlet. A DC parts list doesn’t solve those AC details.
- Solar controller. Verify cold-corrected array voltage, total short-circuit current, controller charge current and allowed PV power at your battery voltage, using the maker’s sizing tool or our calculator for a first check.
- Alternator charging. Use a DC-to-DC charger suited to the vehicle and chemistry, and confirm the alternator can really supply that current. Smart alternators, long cable runs, engine-bay heat and idle operation all change the result. Fuse both ends and route cable away from exhaust, moving parts and sharp edges. A kit can’t know the route through your van.
- DC distribution. Look for positive and negative busbars, a main disconnect, a branch fuse block, covers, labels and spare circuits. Don’t treat the vehicle chassis as a casual stand-in for a designed negative return. Use the 12V wire gauge chart and fuse sizing calculator as a starting point for each circuit.
- AC distribution. The kit should define the shore inlet, main protection, transfer, inverter output, branch breakers, receptacles, grounding and any GFCI/RCD requirements. Household parts aren’t automatically right for vibration and mobile power switching.
- Monitoring. A shunt-based monitor tracks amp-hours and state of charge. Check which functions still work if a cloud service, phone or network is down.
Rough sizes (planning ranges only)
These are planning ranges, not recommendations. A measured energy budget may put your build in a different group.
- Small 12V system. Fridge, lights, fans, water pump, phones and occasional laptop charging. Maybe 1 to 3 kWh of battery, 200 to 500 W of solar, modest alternator charging, and either DC only or a small inverter.
- Mid-size mixed AC/DC. The above plus regular computer use, brief kitchen appliances and shore charging. Maybe 3 to 6 kWh, 400 to 800 W of roof solar where space allows, a 2,000 to 3,000 W inverter/charger, and controlled alternator charging.
- High demand. Induction cooking, electric water heating or air conditioning push storage, inverter, solar and recharge needs much higher. Weight, space, alternator capacity, shore service and heat all become central. At this level, professional system design is usually worth more than buying a bigger bundle.
What kits commonly leave out
- vehicle-specific roof mounts and a waterproof cable entry;
- exact cable lengths and abrasion protection;
- alternator feasibility and engine-bay routing;
- the AC shore inlet and branch devices;
- fuses for every conductor size you end up changing;
- chassis bonding design;
- ventilation and service clearance;
- labels, torque records, spare fuses and documentation;
- an inspection or professional review.
Price those items, and the labor, before comparing kit totals.
Questions to ask the seller
- Which exact part numbers and current manuals are included?
- Are high-current cables factory terminated, and can they be shortened or extended?
- What are the PV input limits at the coldest expected temperature?
- What alternator input does the system request, and how is it limited?
- Can every charger be disabled by the battery BMS?
- What happens if the hub or display fails?
- Which functions work with no internet?
- Are replacement cables, fuses and modules available locally?
- Which installation steps affect the warranty?
- Does the package include a vehicle-specific wiring diagram?
Compare quotes on equal terms
Two quotes can look alike while covering very different systems. Ask each seller to fill in the same schedule:
| Item | Proposal A | Proposal B |
|---|---|---|
| Usable battery energy at stated limit | ___ Wh | ___ Wh |
| Continuous / surge AC output | ___ / ___ W | ___ / ___ W |
| Inverter idle consumption | ___ W | ___ W |
| Roof PV and controller limit | ___ / ___ W | ___ / ___ W |
| Alternator charge current | ___ A | ___ A |
| Shore charge current | ___ A | ___ A |
| Maximum combined battery charge | ___ A | ___ A |
| DC circuits / spares | ___ / ___ | ___ / ___ |
| Monitoring without internet | yes / no | yes / no |
| Complete cable and fuse schedule | yes / no | yes / no |
Also ask what’s behind any “days of power” claim. A 5 kWh battery might run a 500 Wh/day minimalist load for many days, but an air conditioner for only part of one. A fair calculation states the reserve, inverter efficiency, ambient conditions and recharge.
Where it all physically goes
- Battery location. It has to meet the product’s temperature, ventilation, orientation, clearance and water-exposure limits. Batteries are heavy, so think about axle loads and handling, and secure them with a structure built for the load, not furniture screws into thin paneling. Leave access to the main disconnect and fuses, because a neat box that needs the bed removed to reach the disconnect is a problem in an emergency.
- Electronics. Inverters and chargers make heat, so follow clearance and orientation instructions, keep them away from loose cargo, textiles, plumbing and anything combustible, and plan airflow without letting road spray in. Keep high-current DC cables short and supported, but don’t force bends tighter than the cable or lug allows. Cover energized busbars and don’t stack more lugs on a stud than the maker permits.
- Cable routes. Draw the route before closing up walls. Use grommets at metal edges, abrasion protection and strain relief, and keep junctions reachable. Don’t bury unfused battery-positive cable behind finished panels. Photograph every route before insulation and trim go on, so the next person knows where cable crosses a drilling area.
Plan for expansion and failure
Ask what happens when you add a battery or a panel. Some ecosystems demand identical expansion batteries and dedicated cables. A controller may already be at its current limit with roof space to spare, and an inverter may accept more battery energy without accepting more charge power. Keep a spare for any cheap proprietary cable that would otherwise disable the whole system. Also work out what happens in each failure:
- If monitoring fails, does the core system keep running locally?
- If the inverter fails, do essential DC loads continue?
- If one battery isolates, can the rest operate safely?
- Can solar be disabled without losing alternator charging?
- Is there a manual way to disconnect every source?
Before you pay the final bill
- As-built schematic and a part-number bill of materials supplied.
- Cable lengths, sizes, fuse ratings and torque values documented.
- Roof penetrations and mounts photographed and checked for leaks.
- Battery and every charger programmed to the approved profile.
- AC shore, transfer, protection and outlet tests done.
- Maximum expected load and each charging source tested, with baseline readings recorded: battery voltage, charge current from each source, inverter no-load draw, and voltage at the battery and at a high-current load.
- Alarms and shutdowns demonstrated.
- You’ve been shown how to isolate solar, alternator, shore, battery, AC and DC.
- Manuals, warranty papers, spare fuses and service contacts are stored in the van.
Keep invoices, installer details, serial numbers, settings and photos together too, so a future warranty claim doesn’t fail because nobody can reconstruct the original setup. And don’t accept a diagram that labels a box just “fuse” or “wire.” It should name the device family, amp rating, DC voltage, interrupt rating, conductor size, insulation, length and termination.
Common questions
Is an all-in-one hub safer than separate parts?
It can cut field wiring between functions, but safety depends on certification, correct installation, protective devices, settings and ventilation. Separate components can be just as safe if designed properly. The number of boxes isn’t a safety rating.
Can I install a kit without a wiring diagram?
No. Connector labels aren’t enough. The final diagram should show every source, conductor, fuse or breaker, disconnect, bus, load, ground and bond, communication line and cable size, and it should be updated to match what you actually built. Our wiring diagram walkthrough shows how the pieces fit.
12V, 24V or 48V?
Higher voltage means lower current for the same power, which helps with large inverters and cable sizes. It also needs compatible DC loads, conversion and service practices. 12V is familiar for many RV loads. Choose the system voltage during design, not from one product sale.
Do I need a 3,000 W inverter?
Only if your simultaneous and startup loads call for it. Oversizing adds cost, heavier cables and fuses, and often more idle loss. A load-management plan can let you use a smaller one.
Can the alternator refill a big bank in one drive?
Divide the amp-hours to replace by net DC-to-DC charge current. Replacing 300 Ah at 50 A takes at least six hours before loads, losses and taper. The alternator’s heat limits may force lower current.
The takeaway
Buy a kit only after it passes a written spec. Integrated kits suit people who value installation speed and coordinated monitoring. Component systems suit people who want customization and long-term serviceability. Either way, insist on a full schematic, a cable-and-fuse schedule, a settings sheet and a commissioning record before you switch anything on. New to all this? Start with the beginner’s guide to van electrical systems.
Sources: EcoFlow: Vanlife and Road Trips Power Kits; Renogy REGO 4-Port System Combiner Box; Victron Energy: Recreational Vehicle Systems; Victron Energy: Off-Grid Systems; Victron Energy: Wiring Unlimited.
Affiliate disclosure: Van Volt Pro may earn a commission from qualifying purchases made through affiliate links, at no additional cost to you. Commercial relationships do not change how we research or our advice to check current specifications.
Last updated: October 6, 2026. General educational information. Have AC wiring and complex installations designed or reviewed by a qualified professional.