
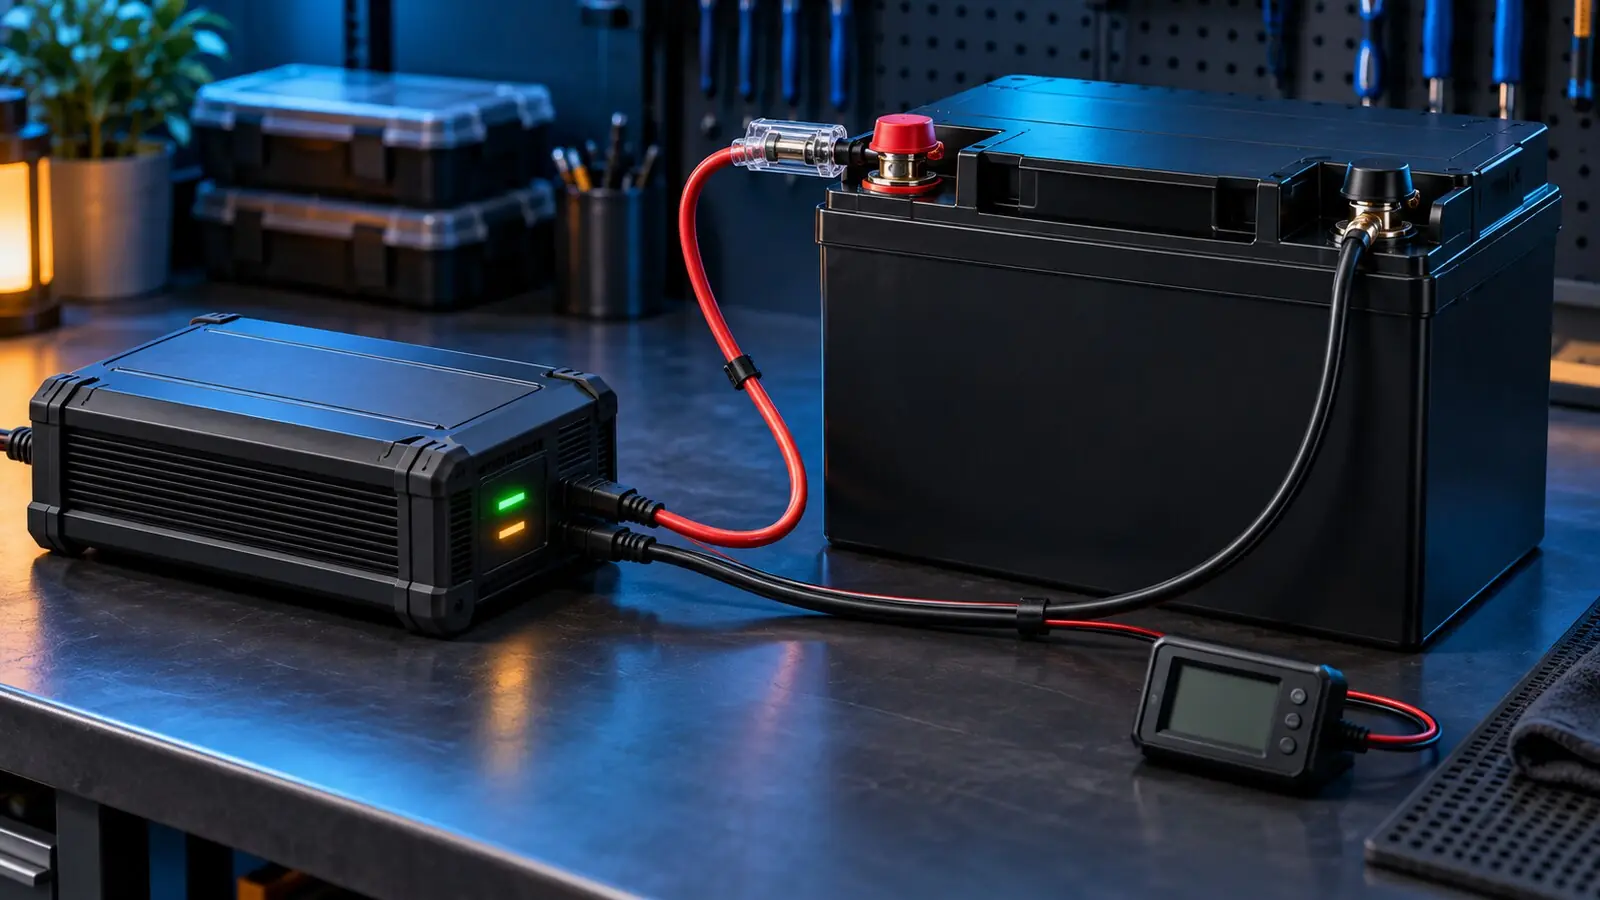
A LiFePO4 battery charger has to match your battery maker’s voltage, current and temperature limits. A “lithium compatible” sticker alone doesn’t tell you that; the charger’s manual does. Pick the battery first, then choose a charger that can be set to exactly what the battery manual asks for.
The short answer
A suitable charger for a LiFePO4 bank should:
- match the bank’s nominal voltage (12V, 24V and so on);
- stay inside the battery maker’s charge-voltage and charge-current limits;
- not use lead-acid tricks like equalization or desulfation pulses;
- respect the battery’s charging-temperature range.
For a 12V LiFePO4 battery, makers usually publish a charge (absorption) target in the low-to-mid 14-volt range, but the exact number depends on the battery. Battle Born recommends 14.4V bulk/absorption for its batteries, while RELiON publishes a wider 14.0 to 14.6V range for many of its 12V products. Neither is a universal setting. Use the manual for your model.
What the charger is doing
A charger turns shore AC, solar power or vehicle power into controlled DC. It typically limits current while battery voltage climbs, then holds the target voltage while current tapers off, and finally stops or drops to a lower maintenance setting.
LiFePO4 doesn’t need the high-voltage equalization some flooded lead-acid batteries do. It also gains nothing from being held at a high state of charge by a lead-acid style float routine. A programmable charger, or one with a verified lithium profile, is easiest to line up with your battery’s published limits.
The battery management system (BMS) is the last line of defense. It can cut off charging if cell voltage, temperature or current goes out of range. If the BMS shutting down is how your charging normally ends, something’s set wrong. The charger should finish inside the battery’s safe window.
Matching charger to battery
Voltage
A 12V-class LiFePO4 battery is normally four cells in series at about 12.8V nominal. A 24V bank is often two compatible 12V batteries in series (or an eight-cell pack), and 36V and 48V use more cells. The charger must support the actual bank voltage and the series layout your battery maker approves. Never put a 12V charger on a 24V bank. If a charger auto-detects battery type, check how it behaves when the BMS has disconnected and terminal voltage looks very low.
Charge settings
Copy the bulk/absorption, float, rebulk and storage values from your battery manual. If the manual says float isn’t needed, turn it off where the charger allows. If the charger insists on a float stage, use only a value the battery maker accepts.
Switch off equalization, desulfation and lead-acid temperature compensation unless the LiFePO4 maker says otherwise. Lead-acid compensation raises the charge voltage when it’s cold, which is exactly when many LiFePO4 batteries must not accept charge at all.
Charge current
Keep charger current below the battery’s maximum charge current, and ideally inside its recommended range. For batteries wired in parallel, check how the maker defines total bank current and whether each battery has suitable cabling and protection.
For a rough charge time, divide the amp-hours to replace by charger amps. A 200Ah bank that’s 100Ah down would take about five hours at 20A in theory. Real charging takes longer because current tapers, loads keep running, the source may be limited, and chargers have losses. Remember to subtract loads: a 30A charger feeding 12A of running loads adds only about 18A to the battery.
Bigger isn’t automatically better. Cables, fuses, connectors, the shore circuit, the alternator and the battery’s own limits all have to handle the current. Our wire gauge calculator and fuse sizing calculator are a good starting point for the wiring side.
Three kinds of charger
AC shore charger
The simplest option at a campground pedestal, garage outlet or generator. Check its AC input current as well as its DC output. The install needs proper AC protection, grounding, strain relief and ventilation, kept away from the battery terminals. An inverter/charger puts the charger and inverter in one box, often with transfer switching. Set the lithium profile before relying on it, read the manual on neutral-ground behavior, and have a qualified person handle the AC side if you’re not sure.
Solar charge controller
An MPPT or PWM controller sits between the panels and battery and must be sized on both sides: panel voltage and current in, battery charge current out. Cold weather raises panel open-circuit voltage, so a string that’s safe at 77°F can exceed the controller’s limit on a freezing, sunny morning. Our solar charge controller calculator shows how that works. Pick the right battery profile and confirm how the controller handles low temperatures. A temperature sensor in the wrong place may not reflect the battery cells.
DC-to-DC alternator charger
A DC-DC charger controls how much energy comes off the vehicle’s charging system. It’s often the right choice with smart alternators and for keeping a LiFePO4 house bank separate from a lead-acid starter battery. Size it only after checking the alternator’s capacity, vehicle guidance, cable length, cooling, and fuses at both ends. A large charger can overload an alternator at idle or in heat even when its headline output looks fine.
Charging in cold weather
Many LiFePO4 batteries must not be charged below 32°F (0°C) unless they have a controlled self-heating system or the maker specifies a different limit. Discharging may still work at lower temperatures, so “the lights are on” doesn’t mean it’s safe to charge.
You need a battery-mounted sensor or a BMS that can block every charging source. If solar, alternator and shore chargers are all connected, protection has to cover all three; a switch on just one isn’t enough. Self-heating batteries spend some charging energy warming their cells first, so check the input current they need and whether they can recover from a cold low-voltage disconnect.
After a BMS disconnect
When a BMS disconnects, the battery may show almost no voltage at the terminals. Don’t bypass the BMS or hit it with an uncontrolled source. Look in the manual for the approved wake-up procedure. Some chargers have a lithium activation mode, but it still has to be compatible with your battery.
Find out why it tripped before you reset it. Common triggers are low or high cell voltage, too much charge or discharge current, a short circuit, or temperature outside the limits. Repeated trips mean a design, setting or battery problem that needs diagnosing.
What to look for when buying
- The right nominal voltage and a lithium profile.
- Programmable absorption, float and rebulk values.
- No automatic equalization or desulfation in lithium mode.
- Output current within the battery’s recommended and maximum range.
- Temperature protection that covers every charging source.
- An input rating that suits your source: shore, solar or alternator.
- Cable, fuse and terminal hardware as the manufacturer specifies.
- Remote enable or BMS communication if your battery system needs it.
- An accessible manual and real warranty support.
Setting it up
- Disconnect loads and charging sources following the manuals.
- Check battery polarity and resting voltage with a suitable meter.
- Program the charger before enabling its output.
- Compare voltage and current limits with the battery manual.
- Inspect cable size, lug crimps, fuse type, torque and the enclosure.
- Start at a controlled charge rate and watch voltage, current and temperature.
- Confirm the charger moves through its stages as documented.
- Test the low-temperature cutoff or BMS control using the maker’s procedure.
- Write down the final settings and the date.
That last step is worth doing properly. Keep a settings page with the battery model, bank layout, charger model, bulk/absorption voltage, absorption time, float (or “disabled”), rebulk threshold, maximum current, equalization status, temperature limits, sensor location and the date each value was checked. If a firmware reset or replacement charger ever changes the profile, you’ll spot it right away. And if a setting isn’t in your battery manual, ask the battery maker rather than borrowing another brand’s number.
Common mistakes
- Trusting the “lithium” label alone. Profiles differ. Read the actual voltage, current, timing and temperature behavior.
- Leaving lead-acid equalization on. A high-voltage pulse can trip the BMS or exceed the battery’s rating.
- Using voltage as a fuel gauge. LiFePO4’s discharge curve is very flat, so a shunt-based battery monitor tells you far more day to day.
- Forgetting loads in charge-time math. Running loads eat into the charge current.
- Charging below the temperature limit. The cabin thermometer doesn’t tell you what the cells are doing.
Common questions
What voltage should a 12V LiFePO4 charger be set to?
Most 12V LiFePO4 manufacturers specify a bulk/absorption target in the 14.0V to 14.6V range—for example, 14.4V for Battle Born 12V batteries and 14.0V–14.6V across many RELiON 12V models. Always match your exact battery manual, disable lead-acid equalization and desulfation, and turn off float if the manufacturer recommends it.
Can I use an old lead-acid charger?
Only if its documented voltage, stages, current, equalization and temperature compensation are all accepted by your LiFePO4 battery’s maker. A charger that sometimes enters desulfation or equalization isn’t suitable just because its normal mode reaches a similar voltage. A programmable lithium charger is easier to verify.
Is a bigger charger always faster?
Only until the battery, BMS, cables, source or charger hits a limit. Two batteries in parallel may accept more total current than one, but only in an approved layout with balanced wiring. The recommended current range usually gives the best balance of time and stress.
Does the charger need a temperature sensor?
It needs a dependable way to respect temperature limits. That could be a BMS in the battery, a remote sensor on the charger, or communication between them. A sensor used for lead-acid voltage compensation is not the same as a low-temperature lithium cutoff.
Why does the charger stop before my monitor shows 100%?
The BMS may be limiting charge, the monitor may be out of sync, the charger may have reached its voltage and tail-current condition, or cable voltage drop may make the charger see a higher voltage than the battery does. Compare terminal voltage, charger state, current, temperature and monitor settings. Don’t raise voltage without finding the cause.
The takeaway
Choose the charger after the battery. Copy the battery maker’s current charge limits into a settings sheet, then check that the charger can reproduce them with no hidden lead-acid behavior. Let the BMS be protection, not routine control, and have high-current or mixed AC/DC installations reviewed by a qualified professional.
Sources: Battle Born Batteries: Charging LiFePO4 Batteries; Battle Born Batteries: Charging Lithium Batteries, The Basics; RELiON: Charging Lithium Batteries; Victron Energy: Wiring Unlimited; Victron Energy: lithium battery manuals.
Related guides: what a LiFePO4 battery is, best 100Ah LiFePO4 battery, camper van wiring diagram explained.
Last updated: October 6, 2026. General educational information. Follow your battery and charger manuals, and use a qualified professional for AC and high-current work.